Quick Summary
This article provides a comprehensive strategy for mastering resin art casting with epoxy, focusing on crafting elegant jewelry and stylish decor. It covers essential techniques, materials, and creative insights to help enthusiasts start and succeed in this rewarding craft.
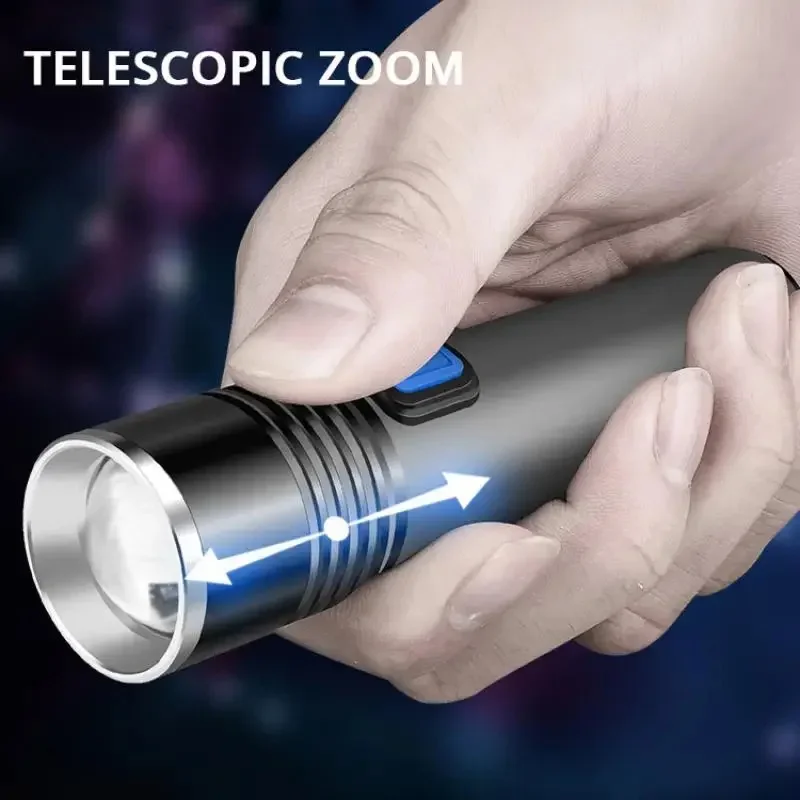
395nm Uv Flashlight Blacklight Zoomable Usb Rechargeable Uv

395nm Uv Flashlight Blacklight Zoomable Usb Rechargeable Uv
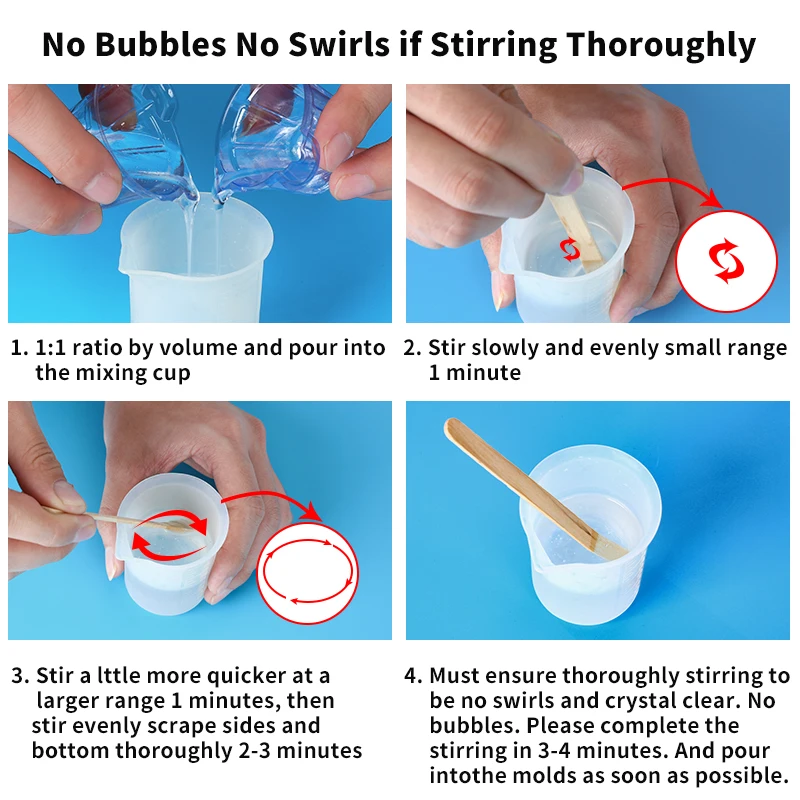
1:1 Crystal Clear Epoxy Resin Kit High Gloss & Bubbles Free
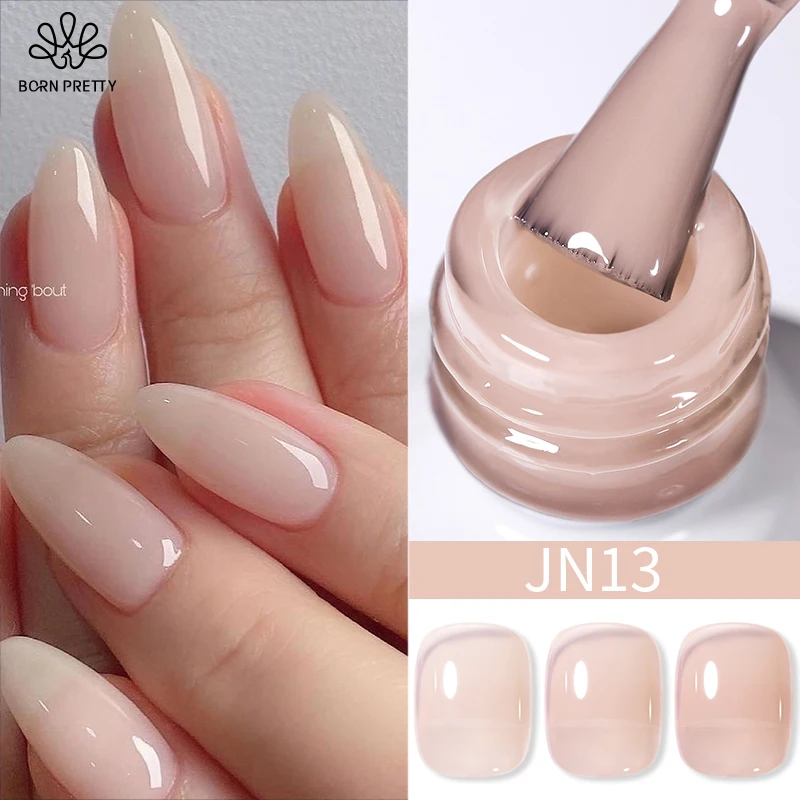
Born Pretty Jelly Nude Gel Nail Polish 10ml Light Pink Peach
The Liquid Gemstone: My Deep Dive Into the Alchemy of Epoxy Resin
It started with a bracelet. Not in a boutique, but on the wrist of a barista. A cuff, deep as a midnight ocean, with a single, perfect fern frond suspended inside. It looked like a wearable diorama, a slice of preserved forest. “I made it,” she said. “With resin.”
That moment sparked an obsession. What began as curiosity evolved into a basement workshop filled with bottles of liquid plastic, pigments, and silicone molds. I’ve cast geodes that don’t exist in nature and pendants holding constellations of glitter. I’ve also created my fair share of sticky, bubbly failures. This craft is equal parts magic and meticulous science—a blend of chemistry and art.

This is your guide to that world. Forget intimidating social media feeds. We’re going back to the foundational alchemy. Whether you dream of crafting earrings or a river table (we’ll start smaller), understanding the core principles is everything. Consider me your test pilot. I’ve breathed the fumes, ruined the pours, and found the hidden gems that make this craft profoundly rewarding.
The Foundational Kit: What You Actually Need
You can’t build a house without understanding brick and mortar. In resin, your raw materials are non-negotiable. Choosing wrong is the fastest route to frustration.
The Heart: The Resin Itself For jewelry and small decor, you need a casting resin. It’s formulated for thinner pours (up to 1-2 inches) and has a longer cure time, letting bubbles escape. Its counterpart, coating resin, cures too quickly for deep molds.
A quality casting resin has two parts mixed in a strictly measured ratio—this isn’t drying, it’s a chemical transformation called curing. Guesswork leads to resin that stays forever tacky.
The Hidden Gem: For your first foray, a reliable, crystal-clear kit is key. Look for one explicitly labeled for casting, with solid reviews about clarity and bubble behavior. A kit like this 1:1 Crystal Clear Epoxy Resin is a top-selling starting point for a reason—it demystifies the two-part process and promises a high-goss, bubble-free finish.
The Mold: Your Creative Blueprint Silicone molds are the unsung heroes. They’re flexible, non-stick, and capture incredible detail. For beginners, start simple: flat-backed cabochons for pendants, basic geometric shapes, or open-back jewelry molds.
Pro Tip: Look for molds made of platinum cure silicone. They’re more resistant to "inhibition," where certain materials prevent the resin from curing properly against the mold surface.
The Hidden Gem: A versatile mold gets you making recognizable pieces fast. A Geometric Earring & Pendant Silicone Mold offers exactly that—clean, modern shapes perfect for beginners. It’s a top seller because it’s reliable and produces jewelry that looks professionally made.
The Color: Trapping Light Inside This is where personality erupts. Your resin is the crystal-clear lake; your inclusions are the life within it.
- Mica Powders & Alcohol Inks: For radiant color and pearlescent shifts.
- Dried Flowers & Leaves: They must be bone-dry. Any moisture causes wilting.
- Glitters & Foils: Fine, cosmetic-grade works best.
The Hidden Gem: You need color that’s reliable and vibrant. A set of Pearl Powder Pigments is a perfect starter palette. These mica powders offer shimmer and depth without the unpredictability of some dyes, and a multi-color set lets you experiment freely.
The Safety Gear: Non-Negotiable Armor Epoxy fumes are volatile organic compounds (VOCs). This isn’t a place for bravery.
- Ventilation: A fan in an open window, blowing fumes away from you.
- Respirator: An N95 is not enough. You need one with organic vapor cartridges.
- Nitrile Gloves & Eye Protection: Spatters happen.
The Sacred Ritual: Casting Your First Piece
Let’s cast a simple leaf pendant. Follow these steps like a recipe.
Step 1: The Immaculate Prep Your workspace is a temple. Cover it with a disposable tablecloth. Have everything within reach: resin, cups, sticks, mold, inclusions, torch, and safety gear. Put on your gloves and respirator before opening any bottles.
Step 2: The Alchemical Mix This is the most critical step. Take your time.
- Use your digital scale. Pour Part A to the desired weight, then add Part B to the exact same weight.
- Stir slowly and deliberately for the full recommended time (often 3-5 minutes). Scrape the sides and bottom thoroughly. Rushing creates micro-bubbles.
Step 3: Color & Pour
- Add a toothpick-tip of mica powder or a few drops of ink. Less is more. Stir completely.
- Pour a thin, clear base layer into the mold. Just enough to coat the bottom.
- Using tweezers, gently place your dried leaf onto this wet base. This prevents floating.
- Pour your colored resin over the leaf. Fill to the brim, but don’t overfill.
Step 4: Banishing Bubbles Bubbles are the enemy of clarity.
- Let the filled mold sit for 5-10 minutes. Many bubbles will rise.
- Use a heat gun or (carefully) pass a butane kitchen torch flame quickly over the surface. The heat pops bubbles. Do not hold the flame in one spot!
The Hidden Gem: For smaller pieces or detail work, UV resin is a fascinating alternative. It cures in minutes under a UV light. A UV Resin Kit with a Lamp is a top seller for quick projects, repairs, or adding detailed top coats without the long wait.
Step 5: The Patient Wait
- Place a dust cover (a large upside-down box) over your project.
- Let it cure undisturbed for the full time—usually 24-72 hours at room temperature.
- After demolding, some pieces benefit from a "post-cure" for maximum hardness.
The Hidden Gems Haul: Building Your Toolkit
So, you’re ready to start. Based on the best-selling, most reliable gear out there, here’s a curated haul to build your foundation without the guesswork.
- The Foundation: 1:1 Crystal Clear Epoxy Resin Kit. This is your essential two-part chemical engine. Look for "casting," "crystal clear," and "bubble-free" in the description. This top-selling kit provides the core material with a trusted 1:1 mix ratio.
- The Blueprint: Geometric Earring & Pendant Silicone Mold. Start with shapes that work. A versatile, platinum-cure mold like this lets you produce multiple professional-looking pieces from a single pour.
- The Personality: 6-Color Pearl Powder Pigment Set. Reliable, vibrant color is non-negotiable. This top-rated set gives you a spectrum of shimmery options to experiment with, from bold metallics to soft pearls.
- The Specialist Tool: UV Resin & Lamp Kit. For quick projects, filling gaps, or a different workflow, having a UV resin option is a game-changer. It cures in minutes, offering instant gratification.
- The Unsung Hero: Disposable Mixing Cups. You will go through these. A bulk pack of 50-150pcs Plastic Disposable Cups is a bestseller for a reason. They’re cheap, essential for maintaining mix ratios, and make cleanup a breeze.
The Final Cast
My journey started with a glimpse of a forest in a bracelet. Yours might start with a desire to preserve a flower, to create meaningful gifts, or simply to make something beautiful.
Resin art is a dialogue between control and chaos. You provide the precision; the resin provides the unpredictable swirl. It teaches resilience. You will make mistakes. But in that moment of demolding, when the silicone peels back to reveal a hard, glossy capture of your vision—there’s nothing like it.
You’ve made a gem. Not from the earth, but from your own imagination.
Start simple. Respect the chemistry. Gear up safely. And pour your first mold. There’s a whole world waiting to be suspended, clear and eternal, inside.
395nm Uv Flashlight Blacklight Zoomable Usb Rechargeable Uv
395nm Uv Flashlight Blacklight Zoomable Usb Rechargeable Uv
1:1 Crystal Clear Epoxy Resin Kit High Gloss & Bubbles Free
Born Pretty Jelly Nude Gel Nail Polish 10ml Light Pink Peach
What we liked
- Offers endless creative possibilities for custom designs
- Results in durable, professional-looking finishes that enhance aesthetic appeal
What could be better
- Involves potential health risks from fumes and chemicals
- Requires precision and patience to avoid common issues like bubbles or curing errors
Gallery

Top Picks For You
We've curated these high-rated options matching Craft with Epoxy: A Beginner's Guide to Resin Art Casting for Jewelry and Decor based on quality and value.
395nm Uv Flashlight Blacklight Zoomable Usb Rechargeable Uv
395nm Uv Flashlight Blacklight Zoomable Usb Rechargeable Uv
1:1 Crystal Clear Epoxy Resin Kit High Gloss & Bubbles Free
Born Pretty Jelly Nude Gel Nail Polish 10ml Light Pink Peach
Level Up Your Shopping Game
Join 18,955+ smart shoppers who get our exclusive guides and honest reviews delivered weekly.
No spam ever. Unsubscribe with one click.
In this Article
Reading time: approx. 7 min
Related Topics


